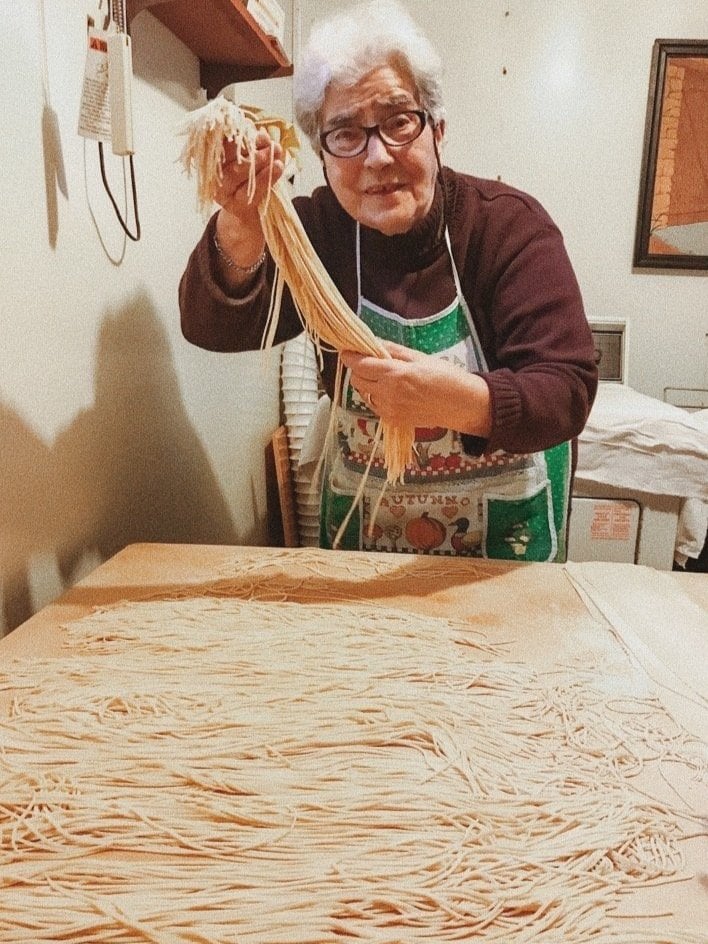
Nonna’s Fresh Pasta

Recipe origin: Italy
How old is this recipe? Centuries old
The story behind the recipe:
My Nonna was the local pasta maker of her village. She acquired this role around the age of 10. Instead of asking for an amount per person—for example, 'can we have pasta for 5 people tonight'—the quantities were instead asked in an amount by egg; 'Maria, can you make us pasta with 5 eggs tonight'. When I was younger we would eat at my Nonna's house every Wednesday. Each week we would have homemade pasta as our first dish. Making and enjoying pasta with my Nonna are some of the most vivid memories of my childhood with her. I made fresh pasta a lot for my family and neighbours during the COVID lockdowns, and each time I made it I felt as though I was honouring my Nonna and the tradition of pasta. It is incredible that the fresh pasta we eat and enjoy today is the exact same recipe she used, in her mountain-top village in central Italy all those years ago. Eggs, Flour & Love.
Ingredients:
- 1/2 cup of flour for every egg.
- Generally speaking, one egg per person/serving.
- For 5 servings: 2.5 cups flour
- 5 eggs
How to make it:
For the dough:
With 2 cups of flour, make a mound of flour on your (clean) counter top.
Reserve a 1/2 cup of flour to the side (it is easier to add more flour than it is to take it away)
In the middle of the flour mound, with your hands, make a little well.
Crack the eggs inside the well.
Using a fork or your hands, lightly beat the eggs and gradually mixing the eggs with the flour from the inside lining of the well.
Gradually work in more flour from the inside of the well until the dough becomes too thick. At this stage, begin to use your fingertips and then your hands.
Once all the flour has been used, begin to knead the dough on a floured surface for about 10 minutes. The dough will become smooth and elastic. If the dough is sticky, dust it lightly with the extra flour you've reserved.
Continue to knead your dough until it is no longer sticky.
The test to ensure your dough is ready is if, when you poke a hole using your fingers, the hole bounces back at you.
If you have reached this stage, wrap your dough in plastic wrap or in a ziploc bag and let it stand on your counter for at least 20 minutes.
For the pasta:
These instructions apply for a mechanical pasta making machine (like the KitchenAid machine with attachments, or a manual pasta making machine with a hand crank).
Remove your dough from the bag and cut your dough into 8 pieces. Cover with a damp cloth to ensure they do not dry-out.
Make the first piece flat using your hand or a roller. The piece should not be sticky - if it is, dust it with flour.
Feed your first piece through the pasta machine at the widest setting.
Once it has been passed through, adjust the setting to make the width thinner at the next level.
Continue this process until you have reached the desired width of your pasta (usually at the 2nd thinnest width)
Once you have finished your first sheet, set it aside and continue these steps for each piece of dough you have cut.
Once you have created all the sheets using all your available dough, feed the sheets one at a time, through whichever pasta shape you will be cutting.
Set aside and ensure they do not stick to one another.
Voila! Pasta has been made! You can cook it right away at this stage (bring a very large pot of water to a rolling boil. Salt it heavily. Fresh pasta is ready once it begins to float, 1-3 minutes). You may also dry it on your counter overnight or place it on a flour-dusted tray, cover and freeze it in your freezer.
It's easier than ever to tell beatiful food stories.
